A west-facing living room can feel several degrees hotter by midafternoon, even with the air conditioning running. When you install solar film on windows, you create a practical barrier against solar heat and glare without replacing the glass or committing to a major renovation. The results can be significant, but only when the film type, glass condition, and installation method are right for the space.
For homes, apartments, offices, and storefronts, window film is not a one-size-fits-all purchase. A darker film may improve glare control but alter natural light. A highly reflective film can increase daytime privacy but may not provide privacy after dark. Choosing and installing the right solution begins with understanding what your windows need to do.
Before You Install Solar Film on Windows
Solar film is applied to the interior surface of most standard windows. It is designed to reject a portion of solar heat, reduce visible glare, and block harmful UV rays that can contribute to fading on flooring, furniture, artwork, and merchandise. Premium films can achieve these benefits while maintaining a relatively clear view outside.
Start by assessing the room rather than selecting a film based only on appearance. Notice when direct sunlight enters, which walls feel hot, whether screen glare is a problem, and how much daylight you want to retain. A bedroom with intense morning sun has different requirements from a conference room with floor-to-ceiling glass or a retail display exposed to afternoon heat.
The glass itself also matters. Many residential windows are suitable for solar film, but certain insulated glass units, low-E glass, laminated glass, and textured surfaces require careful product selection. Applying an unsuitable film can affect thermal stress on the glass and may interfere with a manufacturer’s warranty. Older glass may have chips, edge damage, or weak seals that should be addressed before installation.
If you are uncertain about the glass specification, a professional assessment is the safer route. An experienced installer can identify the glass type, assess sun exposure, and recommend a film with the right balance of heat rejection, visible light transmission, and appearance.
Choose Film for Performance, Not Just Tint
It is easy to assume a darker film always provides better heat reduction. While darker films can reduce glare effectively, modern ceramic and spectrally selective films can reject substantial infrared heat while remaining lighter and less reflective. This makes them especially useful where homeowners or office occupants want daylight and an open view.
Look at more than one performance figure. Visible light transmission indicates how much natural light passes through the film. Solar heat rejection provides a broad indication of heat-control performance, while total solar energy rejected is useful for comparing overall efficiency. UV rejection is also important for interior protection, although it should not be treated as a substitute for other sun-safety measures.
For rooms exposed to strong afternoon sun, a higher-performance solar film is usually worth considering. For a room that already feels dim, a lighter film with heat-rejection technology may be a better choice. In office settings, glare reduction around monitors and meeting-room screens often matters as much as cooling comfort.
Reflective and one-way films deserve particular attention. They can provide excellent daytime privacy when the outside is brighter than the interior. At night, however, the effect reverses if interior lights are on. For round-the-clock privacy, pair solar control with a dedicated privacy, frosted, or blackout film strategy where appropriate.
Prepare the Glass Carefully
A clean surface is the foundation of a clean installation. Dust, paint specks, adhesive residue, and tiny fibers can become permanently visible beneath the film. Even a quality product can look poor if the glass has not been properly prepared.
Clear the area around the window and protect nearby furniture, flooring, and electronics from moisture. Remove curtains or blinds if they restrict access to the glass. Then wash the interior pane with a film-safe cleaning solution and a lint-free cloth or professional-grade squeegee. Avoid household glass cleaners that leave residue, especially products containing waxes or additives.
Inspect the glass from several angles before proceeding. Small scratches will remain visible after installation, and silicone or paint along the edges can prevent the film from sitting flat. A sharp scraper can remove stubborn contaminants from suitable glass, but it should be used carefully. Scraping coated, tinted, or delicate glass without confirming compatibility can cause damage.
How to Install Solar Film on Windows
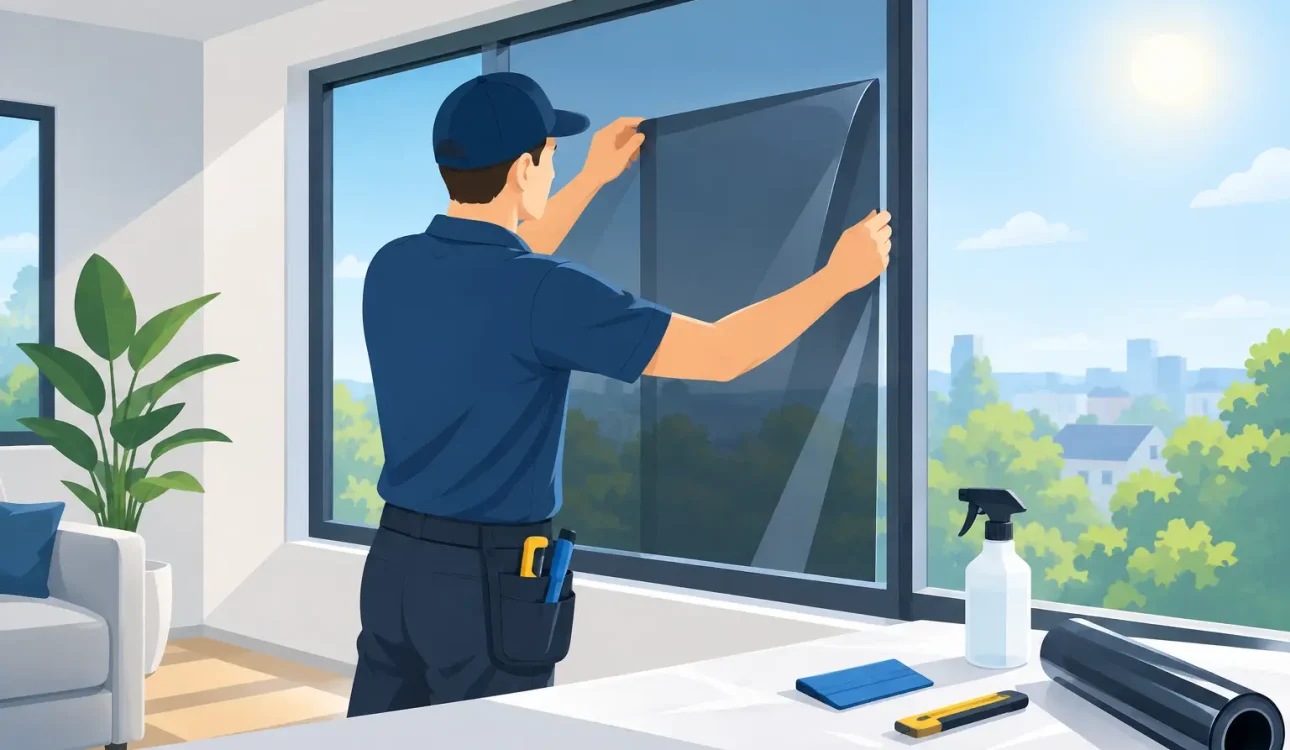
DIY installation is possible on small, simple windows when you have patience, a clean workspace, and the correct tools. Large panes, high windows, curved glass, and commercial installations are less forgiving. These are usually best handled by trained installers who can cut, align, and finish the film precisely.
For a standard flat window, the process follows a clear sequence.
- Measure the visible glass area and cut the film slightly larger than the pane. The excess allows for accurate trimming after the film is positioned.
- Spray the glass generously with an application solution, typically clean water mixed with a small amount of suitable soap. The wet surface lets the film slide into position before it adheres.
- Remove the liner from the adhesive side of the film. Keep the adhesive wet during this step so dust and static do not become a problem.
- Place the film against the wet glass, with the adhesive side facing the glass. Align it from the top and leave a small amount of excess around every edge.
- Spray the outer surface of the film. Using a firm squeegee, push water and air outward from the center in overlapping strokes. Work methodically so no pockets remain trapped beneath the surface.
- Trim the edges with a sharp utility knife and a straightedge, leaving a narrow clearance from the window frame or gasket. This gap helps prevent lifting and allows moisture to escape during curing.
- Squeegee once more, especially around the perimeter, then wipe the frame and sill dry with a clean cloth.
The most common installation failures are not dramatic. They are small: a piece of lint caught under the film, an uneven cut line, a corner that was not fully secured, or too much pressure applied with a dull blade. These details determine whether the finished window looks professionally upgraded or visibly improvised.
Expect a Curing Period
Freshly installed solar film can look slightly hazy or show small water pockets. This is normal during the curing process. Depending on film thickness, weather conditions, and indoor humidity, it may take several days or a few weeks for remaining moisture to evaporate fully.
Do not press, peel, or puncture bubbles while the film cures. Small moisture pockets often disappear on their own. If a large bubble, lifting edge, or contamination remains after the recommended curing period, contact the installer or film supplier for guidance rather than attempting a repair that may worsen the finish.
Once cured, clean the film with a soft cloth and a mild, ammonia-free cleaner. Abrasive pads, harsh chemicals, and sharp tools can scratch the surface or damage the edges. With proper care and a quality product, solar film can provide years of dependable performance.
When Professional Installation Is the Better Investment
Professional installation is not just about getting a smoother appearance. It is also about selecting a film that performs safely on your specific glass, measuring accurately, and managing difficult edges, joints, frames, and large panels. This is particularly valuable in sun-exposed apartments, offices with extensive glazing, and commercial spaces where downtime or visual defects carry a higher cost.
ShieldShade International approaches window film as a performance upgrade, not simply a tinting service. Proper consultation helps match the film to heat exposure, privacy needs, daylight preferences, and the character of the property. The right recommendation can reduce the need to over-darken a room just to achieve better comfort.
A window should bring in light and a view, not excessive heat or distracting glare. Choose a solar film that respects how you use the room, and make installation quality part of the decision from the beginning. That is how a simple glass upgrade becomes a lasting improvement in comfort.


