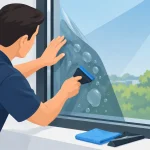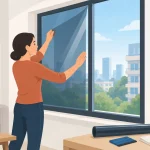
A window film project can look simple until the measurements are wrong. When you measure windows for film carefully, you avoid ordering too little material, wasting premium film, or ending up with narrow uncovered edges that affect privacy and appearance. Accurate sizing also helps an installer assess the job properly, especially for large panels, high windows, sliding doors, and heat-exposed glass.
For homes, apartments, offices, and storefronts, the goal is not only to capture the glass dimensions. You also need to understand the window type, the installation surface, and any obstacles that may affect the finished result. A few extra minutes spent measuring correctly can make the difference between a polished upgrade and an avoidable rework.
What You Need Before Measuring
Use a rigid steel tape measure rather than a cloth tape or a ruler. A steel tape stays straight across wide panes and gives a more reliable reading. You will also need a notepad or phone, a pen, and ideally a camera for recording window layouts, frames, handles, and unusual details.
Measure in inches if your supplier quotes and cuts film in inches, or use millimeters if that is the standard for your installer. The critical point is consistency. Do not mix units on the same worksheet, and always label every measurement with its unit.
Before you start, identify whether the film will be applied to the interior or exterior side of the glass. Most residential solar, privacy, frosted, decorative, and blackout films are installed on the interior surface. Some specialty products are designed for exterior application, particularly where glass construction or heat performance calls for it. The installation side affects how you account for frames, seals, and access.
How to Measure Windows for Film
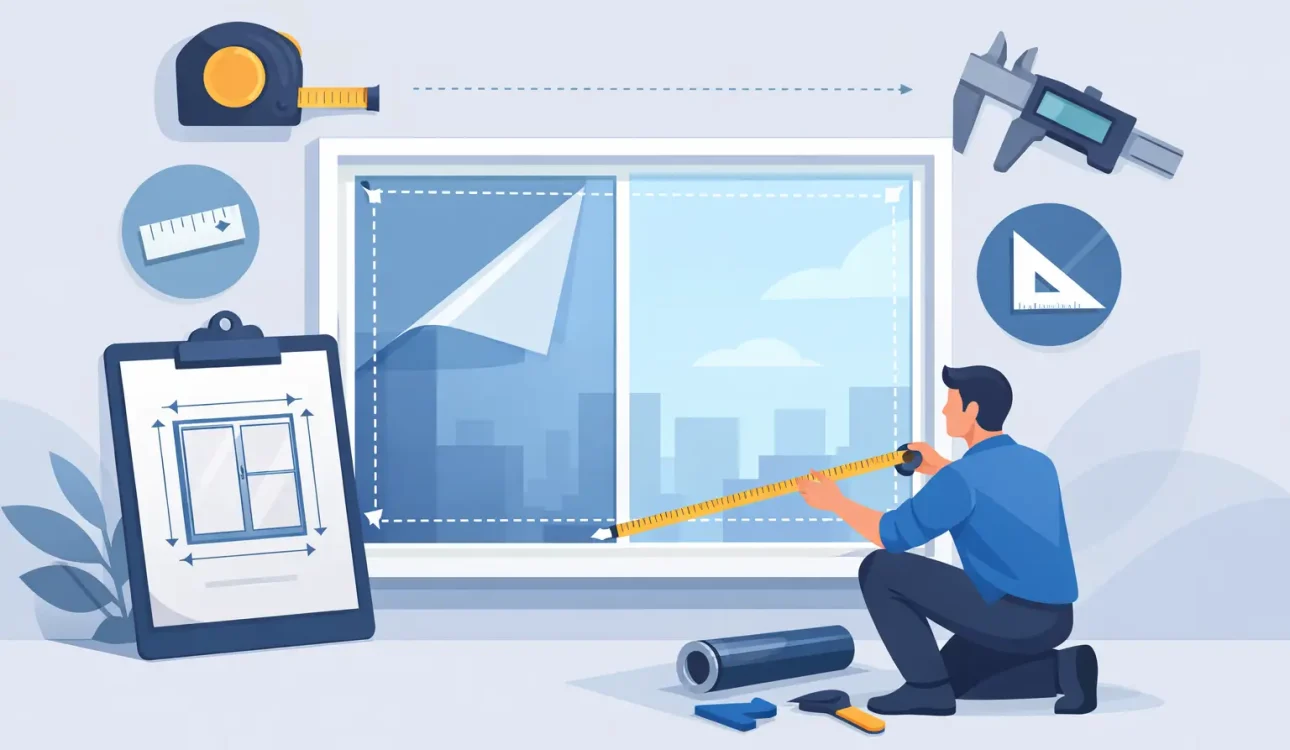
Measure the visible glass, not the overall window frame. Place the tape measure from one edge of the exposed glass to the other, where the film will actually sit. If the glass is held by rubber gaskets or glazing beads, measure up to the inside edge of those boundaries rather than including the aluminum, wood, or uPVC frame.
Take three width measurements: near the top, center, and bottom of the pane. Then take three height measurements: left, center, and right. Windows are not always perfectly square, particularly in older properties, large commercial facades, or windows that have shifted slightly over time.
Record the smallest width and smallest height. This is the safest approach when film must fit within a visible glass area. Professional installers normally cut with a small allowance for final trimming, but the narrowest measurement tells you the true working size of the pane.
For example, if a window measures 36 1/4 inches wide at the top, 36 inches in the center, and 36 1/8 inches at the bottom, record 36 inches as the usable width. If the heights are 58 1/2, 58 3/8, and 58 1/4 inches, use 58 1/4 inches as the usable height. Keep the full measurements in your notes as well, since they can help an installer identify out-of-square glass.
Add material for trimming, not for guesswork
If you are ordering film for a professional installation, ask whether the supplier wants the visible glass size or an oversized cut size. In many cases, film is supplied with extra material around each edge so it can be trimmed precisely on site. An allowance of 1 to 2 inches on each dimension is common for straightforward panes, but it depends on the film roll width, panel size, and installation method.
Do not automatically add large margins to every window. Excess film increases material use and may require a wider roll than necessary. On the other hand, ordering film to the exact glass measurement leaves no room for alignment or trimming. A specialist can calculate the most efficient cutting plan across all your windows, reducing waste while protecting the final fit.
Measure Each Pane Separately
A row of windows may look identical, but do not assume they are. Measure every pane separately, including fixed panels beside sliding windows. Even a small difference can matter when installing frosted film with clean border lines or decorative film with a repeating pattern.
For sliding windows and doors, measure the moving and fixed panels individually. Note the direction each panel slides and the location of handles, locks, latches, and safety sensors. Film is applied to the glass, but these details affect access during installation and may determine whether a single large panel is practical.
For casement windows, measure the glass area on each sash and note how far the window opens. For louvered windows, measure each individual slat rather than the overall opening. Louver applications are more labor-intensive because every piece requires separate preparation and trimming, so clear measurements help produce a realistic installation quote.
Account for Frames, Edges, and Obstacles
Frames are more than a visual detail. Deep frames can create shadows or restrict access to the glass edges. Narrow frames may leave little room for trimming. If a window has silicone sealant, thick rubber gaskets, security bars, blinds, curtains, or built-in grilles, photograph them and make a note on your measurement sheet.
You should also identify any etched logos, stickers, cracks, chips, or existing film. Old film must usually be removed before new film is applied, and damaged glass may require additional assessment. Applying a high-performance solar film to compromised glass without checking its condition is not a sound decision.
For bathroom windows or areas requiring privacy, decide whether you want full coverage or a partial frosted section. A lower-half treatment, for instance, should be measured from the bottom edge of the glass to the chosen privacy line. Mark the intended height clearly instead of estimating it later.
Special Considerations for Solar Film
Solar film measurements are only one part of planning a heat-control solution. The glass type, sun direction, window size, and room use all influence the right product choice. A west-facing living room with large clear glass panels may need stronger heat and glare reduction than a shaded bedroom, even if both windows are the same size.
Take note of which rooms feel hottest in the afternoon, where screen glare is most disruptive, and whether furniture or flooring receives direct sun. These observations help match the film to your actual comfort needs. A darker film can provide more glare control and daytime privacy, but it may also reduce visible light. A lighter, high-performance solar film can preserve a brighter view while still cutting a significant portion of solar heat and UV exposure.
For double-pane, laminated, tempered, or coated glass, avoid selecting film based on appearance alone. Some glass-and-film combinations can create higher thermal stress. A qualified window film specialist should confirm compatibility before installation, particularly for large commercial panels, insulated glass units, and glass exposed to intense sunlight.
Create a Clear Measurement Sheet
A simple worksheet keeps the project organized. Give every window a name that matches its location, such as “Living Room Left,” “Bedroom 2,” or “Office Meeting Room North.” Record the smallest width and height, the window type, the number of panes, and any access notes.
For a larger property, include the orientation of each window: north, south, east, or west. This gives valuable context for recommending solar film. You can also note whether the room needs heat reduction, privacy, glare control, daytime one-way visibility, a blackout effect, or a decorative finish.
Photographs should be taken from a few steps back, then closer to show the frame and any obstructions. Clear photos allow the installation team to spot factors that numbers alone cannot show, such as unusually high ceilings, furniture that needs moving, or tight access around a window.
When Professional Measurement Is the Better Choice
Measuring your own windows is useful for an initial estimate, but a site measurement is the safest choice for complex or high-value projects. This is especially true for floor-to-ceiling glass, large office partitions, curved glass, skylights, shopfronts, windows above staircases, and properties where consistent appearance across many panels matters.
Professional measurement also provides an opportunity to discuss film performance in real conditions. A trained consultant can assess sun exposure, glass type, interior layout, and privacy requirements before recommending a product. ShieldShade International combines this technical assessment with precision installation, helping property owners choose a film that performs as well as it looks.
Do not rush the final order because one window seems easy to measure. Treat every pane as its own surface, record the details that affect installation, and leave room for an expert to verify the final dimensions. The right film begins with the right fit, and a careful measurement is the first step toward cooler, more comfortable, and more private spaces.