A bubble in window film can be distracting, but it is not always a sign that the entire installation has failed. The right way to remove window film bubbles depends on what is trapped beneath the film, how long ago it was installed, and whether the film itself has started to age. A careful diagnosis comes first. Trying to force out a bubble with the wrong tool can scratch the film, stretch its adhesive, or create a permanent crease.
For homes, apartments, offices, and storefronts, window film is often selected to reduce heat, glare, UV exposure, or privacy concerns without replacing the existing glass. A clean, precise finish protects that investment and keeps the glass looking as intended.
First, identify the type of bubble
Not all bubbles are the same. Freshly installed film can show small pockets of moisture or a faint hazy appearance while the mounting solution dries. This is especially common with thicker solar, privacy, and safety films. In warm, humid conditions, full curing can take several weeks. During that period, small water pockets may reduce naturally as moisture evaporates through the film.
Air bubbles, on the other hand, tend to have a more defined edge and remain in the same place. They may appear after an incomplete squeegee pass during installation or when dust prevents the adhesive from making full contact with the glass.
A third category is more difficult to repair: bubbles caused by film failure. Older film may bubble when its adhesive breaks down, particularly near sun-exposed edges. If the film has turned purple, brittle, cloudy, or has begun peeling, the issue is usually not a simple installation defect. Replacement is the better long-term solution.
Moisture bubbles after a recent installation
If the film was installed within the last few days, patience is often the best first step. Do not press aggressively on water pockets or puncture them. Small pockets usually become less visible as the film cures, while pressing too early can shift the film or leave distortion behind.
Follow the installer’s curing guidance, keep the glass out of unnecessary direct impact or cleaning, and inspect the area again after the stated cure period. Larger pockets or clear trapped debris should be reported sooner, because they may not resolve on their own.
Air bubbles and trapped debris
A true air bubble can sometimes be worked toward the nearest edge, provided the film is still new and the bubble is small. A speck of dust, hair, or grit beneath the film cannot be squeegeed away. It may look like a bubble at first, but it will remain as a raised point or visible particle.
This distinction matters. Pressing on trapped debris can damage the coating or create a dent that is more noticeable than the original imperfection.
How to remove window film bubbles without damaging the film
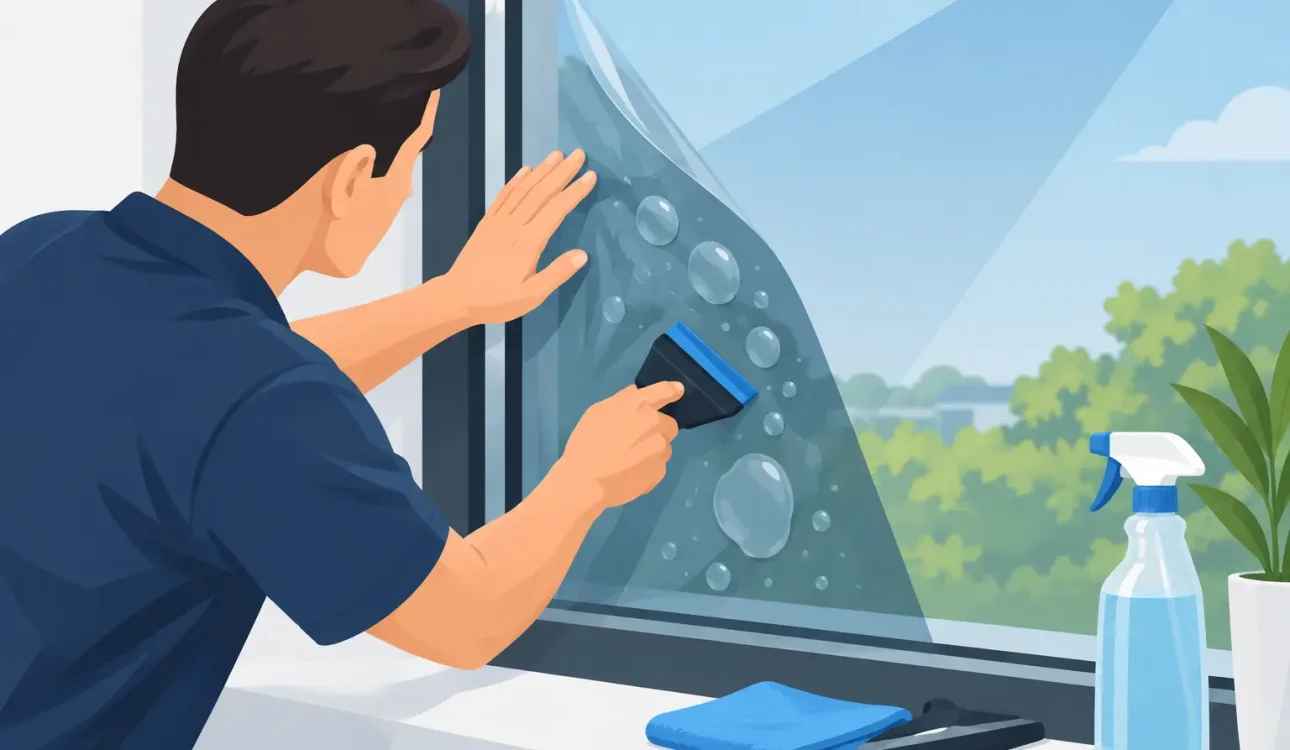
For a small, recent air bubble, use a clean, firm plastic card or a professional film squeegee wrapped in a soft microfiber cloth. The cloth creates a protective layer between the tool and the film, reducing the risk of surface scratches.
Start at the center of the bubble and apply gentle, even pressure toward the closest film edge. Work slowly in short strokes rather than making one hard pass. The goal is to guide trapped air outward, not flatten the bubble by force.
If the bubble moves easily and becomes smaller, continue until the air reaches an edge. If it does not move, stop. Resistance may mean the adhesive has already set, the bubble contains moisture, or contamination is trapped underneath.
Avoid using needles, pins, razor blades, or utility knives. Puncturing window film may seem like a quick fix, but it creates a tiny opening that can collect dirt, admit moisture, and leave a visible mark. On heat-control or reflective films, a puncture can also interrupt the uniform appearance of the glass.
Do not use household heat sources either. Hair dryers and heat guns can overheat the film, soften the adhesive unevenly, or stress the glass. This is particularly risky on large windows, insulated glass units, and glass exposed to strong afternoon sun.
When a bubble needs professional attention
A professional assessment is the right choice when bubbles are widespread, appear long after installation, or occur alongside lifting edges, discoloration, or haze. These symptoms often point to adhesive deterioration rather than an isolated pocket of air.
It is also wise to call an installer when the affected film is on a high window, a large commercial storefront, or glass with a specialized coating. The cost of a mistaken repair can exceed the cost of addressing the issue correctly from the start.
An experienced installer can determine whether the film can be reworked, whether a localized section needs replacement, or whether complete removal and reinstallation will produce the cleanest result. They can also inspect the glass surface for residue, sealant contamination, or other conditions that may have contributed to the problem.
ShieldShade International approaches window film work with this practical standard: the film should perform for heat control, glare reduction, and privacy while maintaining a smooth, consistent appearance. Precision preparation and installation are as important as selecting the right film grade.
Why window film bubbles happen
Most bubble issues begin before the film touches the glass. Window film needs a thoroughly cleaned surface free from dust, oil, silicone residue, paint overspray, and cleaning-product buildup. Even a small amount of contamination can interfere with adhesion.
Installation conditions matter as well. Glass that is excessively hot, cold, or exposed to strong airflow can make the process harder to control. In humid climates, curing may take longer, and moisture pockets can remain visible for more time than expected. That does not automatically mean the film is defective.
Film selection also plays a role. Premium solar film, blackout film, frosted film, decorative film, and reflective privacy film each have different thicknesses, adhesive systems, and visual finishes. A film that is appropriate for an interior partition may not be the best choice for a sun-facing exterior window. Choosing the correct product for the glass type, exposure, and intended use helps prevent performance and appearance issues later.
Prevent bubbles during cleaning and everyday care
Once window film has fully cured, gentle maintenance helps preserve its finish. Clean the film with a soft microfiber cloth or clean rubber squeegee and a mild, ammonia-free cleaner. Spray the cloth rather than soaking the edges of the film, especially if the film is older.
Avoid abrasive pads, powder cleaners, and sharp tools near the film edges. These can scratch the surface or begin lifting a corner, which creates an entry point for air and moisture.
If you notice a small edge lifting, do not keep pressing it back repeatedly. The adhesive may already be compromised or the edge may be contaminated. Early professional attention can prevent a minor issue from spreading across the pane.
A note on expectations after installation
High-quality installation aims for a clean, uniform finish, but no applied film is identical to factory-tinted glass. Depending on the product, lighting, glass condition, and viewing angle, tiny points of dust or minor optical variation may be visible at close range. They should not interfere with the film’s overall appearance or performance when viewed normally.
The key is to separate normal curing behavior from defects that need correction. Ask your installer what to expect during the first several weeks, how to care for the film, and what after-sales support is available if an issue appears.
A smooth window film finish starts with patience when the film is new and professional judgment when the problem persists. If a bubble remains after curing or keeps returning, protect the glass and the film by having the cause evaluated before attempting a more aggressive repair.