A window film should make glass look cleaner, cooler, and more polished – not draw attention to itself. If you are wondering why tint bubbles have appeared on your windows, the answer depends largely on when they formed, what they look like, and how long the film has been installed. Some small bubbles are a normal part of the curing process. Others point to aging adhesive, contamination, or an installation issue that needs professional attention.
For homes, apartments, offices, and storefronts exposed to strong sun, window film is a practical upgrade for heat reduction, glare control, UV protection, and privacy. Getting the installation right matters just as much as choosing the right film. A clear, properly bonded finish protects both the performance and appearance of your glass.
Why Tint Bubbles Appear on Window Film
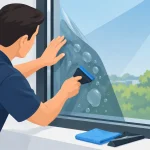
Window film is applied using a slip solution that allows the installer to accurately position the material before it is secured to the glass. During installation, the solution and trapped air are pushed out with professional tools. Even with careful work, a small amount of moisture can remain between the film and the glass immediately afterward.
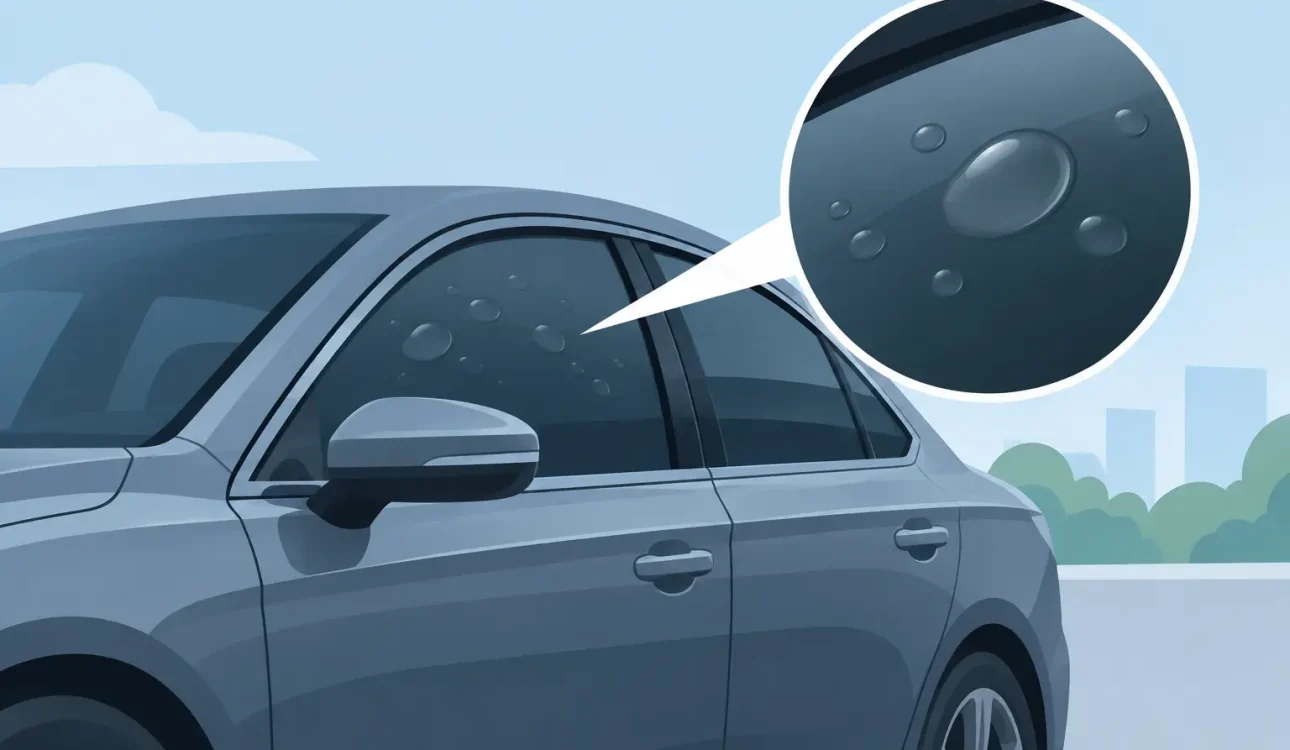
That moisture may look like haziness, tiny water pockets, or light bubble-like marks. This is especially common with thicker solar films, privacy films, and certain decorative finishes. It does not automatically mean the installation has failed.
The more concerning type of bubble develops after the film has already been clear and smooth for months or years. These bubbles are often caused by adhesive breakdown. As the adhesive loses its bond, air can enter between the film and glass, creating visible raised pockets, rippling, or areas where the film starts to lift at the edges.
New Tint Bubbles: Normal Curing vs. a Problem
Freshly installed window film needs time to cure. In warm, humid conditions, moisture between the film and the glass gradually evaporates through the film’s surface. Depending on the film type, window orientation, temperature, and weather, this process can take several days to several weeks.
Small water bubbles that shrink over time are generally normal. A slightly cloudy appearance can also be expected while the adhesive settles and the remaining moisture dries. South- and west-facing windows may cure differently from windows in shaded rooms, simply because the glass receives different levels of heat and sunlight.
However, not every mark should be dismissed as curing. Large air pockets, creases, dust specks, hairs, fingerprints, or bubbles that remain unchanged after the expected curing period deserve inspection. Unlike moisture, trapped air does not typically disappear on its own. Neither does debris caught under the film.
A reliable installer will explain what is normal after application, provide reasonable curing expectations, and advise when to request a follow-up assessment. This reassurance is particularly valuable for large glass panels, where light reflection can make even minor imperfections more visible.
What Normal Curing Usually Looks Like
Normal curing marks tend to be small, flat or slightly soft-looking, and scattered rather than concentrated around damaged areas. They are usually filled with water, not air, and become less noticeable each day. The film edges should remain firmly adhered, and there should be no peeling, cracking, or discoloration.
If the window film is still within its early curing period, resist the urge to press, puncture, or lift it. Disturbing the film can introduce dirt, damage the adhesive, and turn a temporary cosmetic issue into a permanent defect.
Signs the Bubbles Need Attention
Bubbles are more likely to be a problem when they are large, hard-edged, or growing. They may appear with lifting corners, a white or silvery border around the film, purple discoloration, or a wrinkled surface. These are common signs that the film or adhesive has reached the end of its service life.
Film that has been installed for a long time can also deteriorate because of constant heat exposure. Quality solar film is designed to withstand demanding conditions, but no material lasts forever. Windows that receive intense direct sunlight often place greater strain on older, lower-grade, or improperly installed film.
Common Causes of Tint Bubbles After Curing
The most frequent cause of bubbles in older film is adhesive failure. Over time, heat, UV exposure, humidity, and repeated expansion and contraction of the glass can weaken the bond. When adhesive failure begins, bubbles often spread gradually across the window rather than staying in one isolated spot.
Poor surface preparation can cause early defects as well. Glass must be thoroughly cleaned before film installation. Even a small amount of dust, grease, silicone residue, or old adhesive can interfere with bonding. On existing residential or commercial windows, careful preparation is essential because glass may carry residues from previous cleaning products or renovation work.
Incorrect installation technique is another factor. Film must be accurately cut, positioned, squeegeed, and edge-finished. Rushing the process can leave excess solution or trapped air behind. The use of unsuitable film for the glass type or exposure level may also affect long-term results. Not all films are intended for every window, especially where insulated glass, laminated glass, or high-heat exposure is involved.
Finally, physical damage can create localized bubbles. A sharp impact, scratching, aggressive cleaning pad, or picking at a corner can break the adhesive seal. In these cases, the affected section is unlikely to reattach neatly without replacement.
Can You Fix Tint Bubbles Yourself?
It depends on the cause. Tiny moisture pockets in newly installed film should be left alone to cure. Trying to remove them with a pin, blade, or credit card can scratch the film or glass and compromise the finish.
For a very small air bubble near an edge shortly after installation, a qualified installer may be able to assess whether it can be carefully worked out. Once the adhesive has fully cured, however, DIY repair is rarely successful. Puncturing a bubble creates a visible hole and may allow moisture or dirt to enter. Pressing down aged film may make it appear better briefly, but it will not restore failed adhesive.
When old film is bubbling, peeling, fading, or turning purple, replacement is usually the practical solution. Removing aged film requires patience and the right method to avoid leaving adhesive residue or damaging surrounding seals. After removal, the glass should be properly cleaned and inspected before new film is applied.
How Professional Installation Helps Prevent Bubbles
A high-quality installation begins before the film touches the glass. The installer evaluates the window condition, glass type, sun exposure, and the customer’s goals. For example, a homeowner trying to reduce afternoon heat may need a different solar film from an office manager seeking daytime privacy without making the workspace too dark.
The glass is then cleaned carefully, and the film is selected, cut, and applied with controlled technique. Professional installation is not simply about making the film look smooth on day one. It is about achieving even adhesion, clean edges, and reliable performance over time.
At ShieldShade International, recommendations are based on the practical demands of each space, from high-sun residential windows to commercial glass partitions and privacy-sensitive areas. Premium film selection and precision fitting help reduce the risk of premature bubbling while delivering the heat, glare, and UV-control benefits customers expect.
Caring for Window Film After Installation
The first few weeks matter. Allow the film to cure fully before cleaning it, following the installer’s guidance. After that, use a soft cloth or soft rubber squeegee with a mild, ammonia-free cleaning solution. Avoid abrasive pads, harsh solvents, razor blades, and aggressive scrubbing at the edges.
Check your windows occasionally, particularly in rooms with intense afternoon sun. Early signs of lifting or adhesive change are easier to evaluate before they spread across a larger area. If you notice bubbles long after installation, take a photo and arrange a professional assessment rather than attempting a quick repair.
A clear window film should quietly improve how a room feels: less glare on screens, less solar heat on sunny afternoons, and more comfort behind the glass. If bubbles interrupt that view, the right next step is not guesswork – it is identifying whether the film is still curing, needs attention, or is ready for a fresh, professionally installed replacement.